How to Assemble Your Clarinet

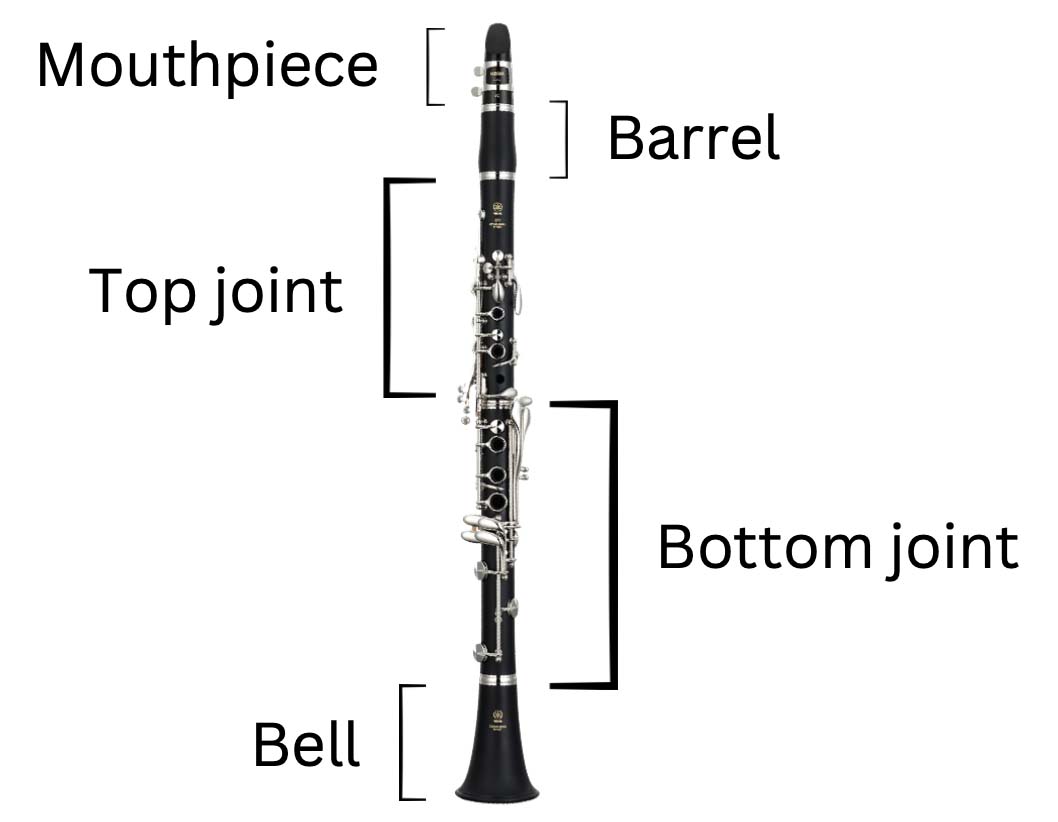
The Parts of Your Clarinet
There are five parts to your clarinet: the mouthpiece, barrel, top joint, bottom joint, and the bell.
The mouthpiece, top & bottom joints have cork around a section called the ‘tenon’.
The reed is secured to the mouthpiece with a ligature, which has adjustable screws and allows the reed to freely vibrate.
Cork Grease
It is important to put cork grease on the tenons, so the joints slide together with ease.
Use a grease that is made specifically for instruments. Do not use Vaseline and other petroleum jellies as they can degrade the glue that holds on the cork and can cause the cork to break down and fall off.

You will not need to put cork grease on every time, however, if it feels difficult to put the joints together, do not force them, always apply cork grease.
Cork grease may build up on the tenon and if this happens, you should wipe the cork gently with a cloth.
The Process
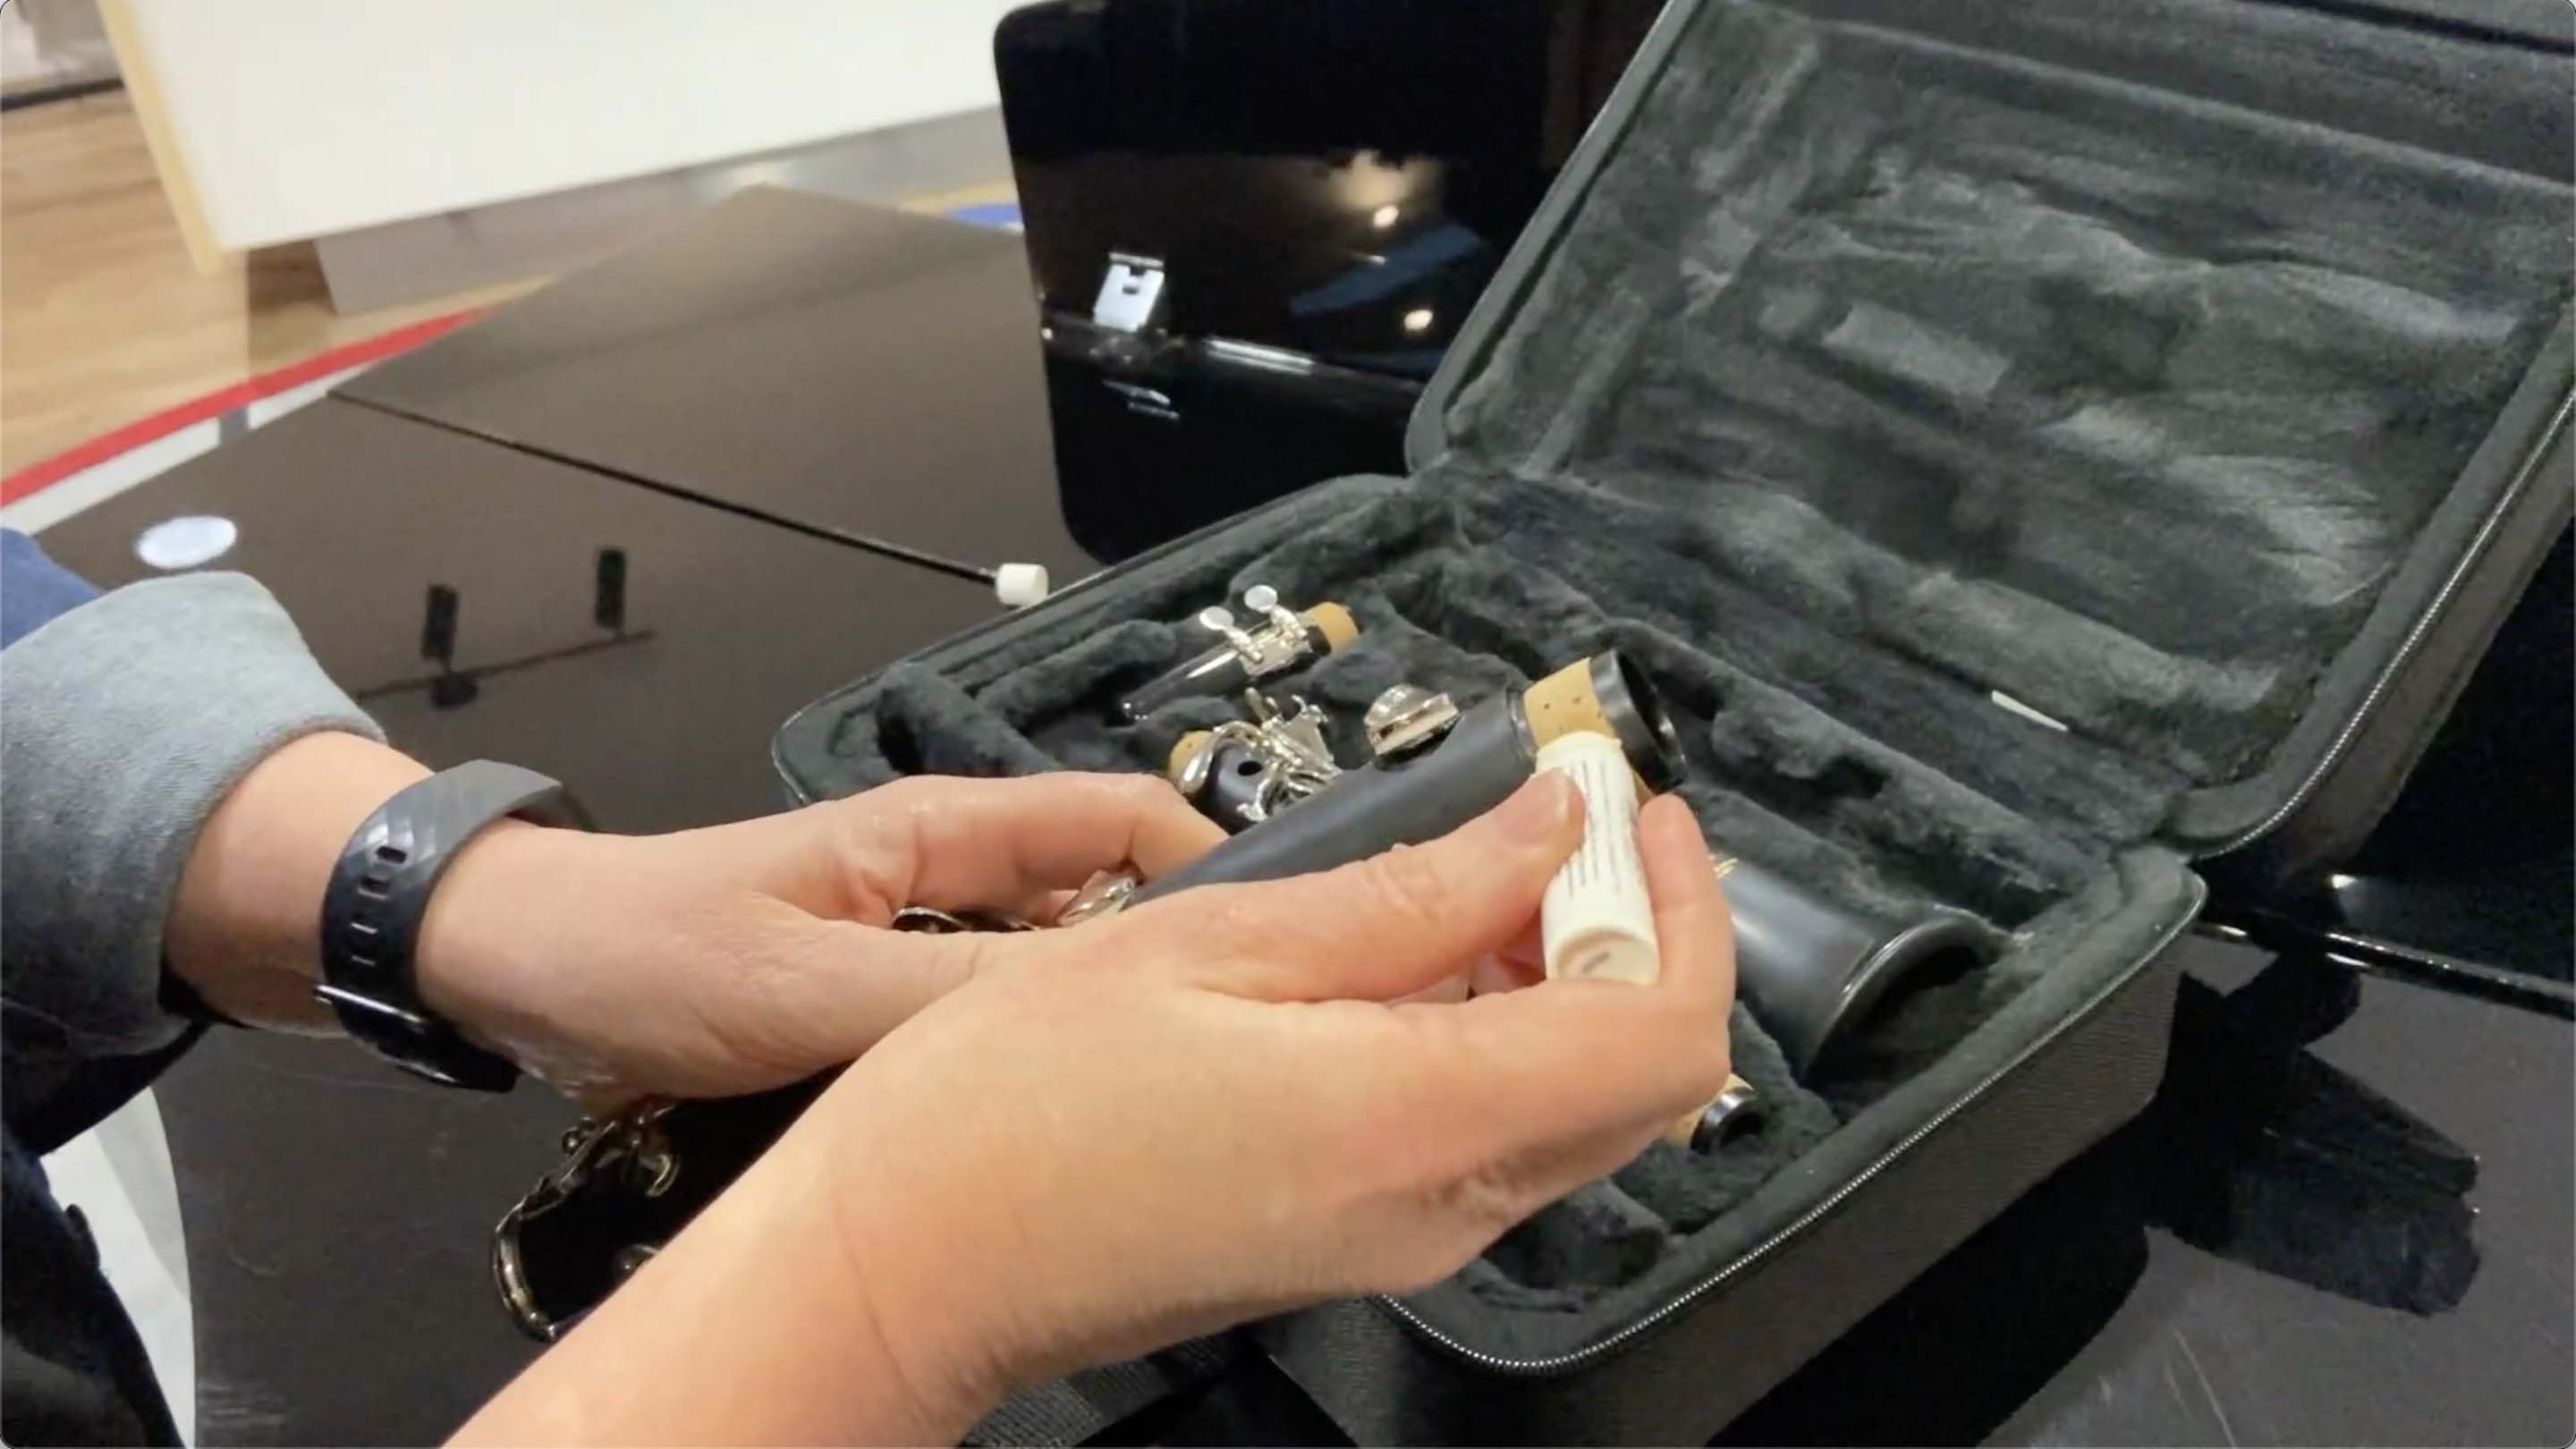
1. Take the bottom joint and apply cork grease to the tenon cork.

2. Hold the bottom joint without applying excess pressure to the keys or rod systems and attach the bell by twisting and gently pushing it into place.
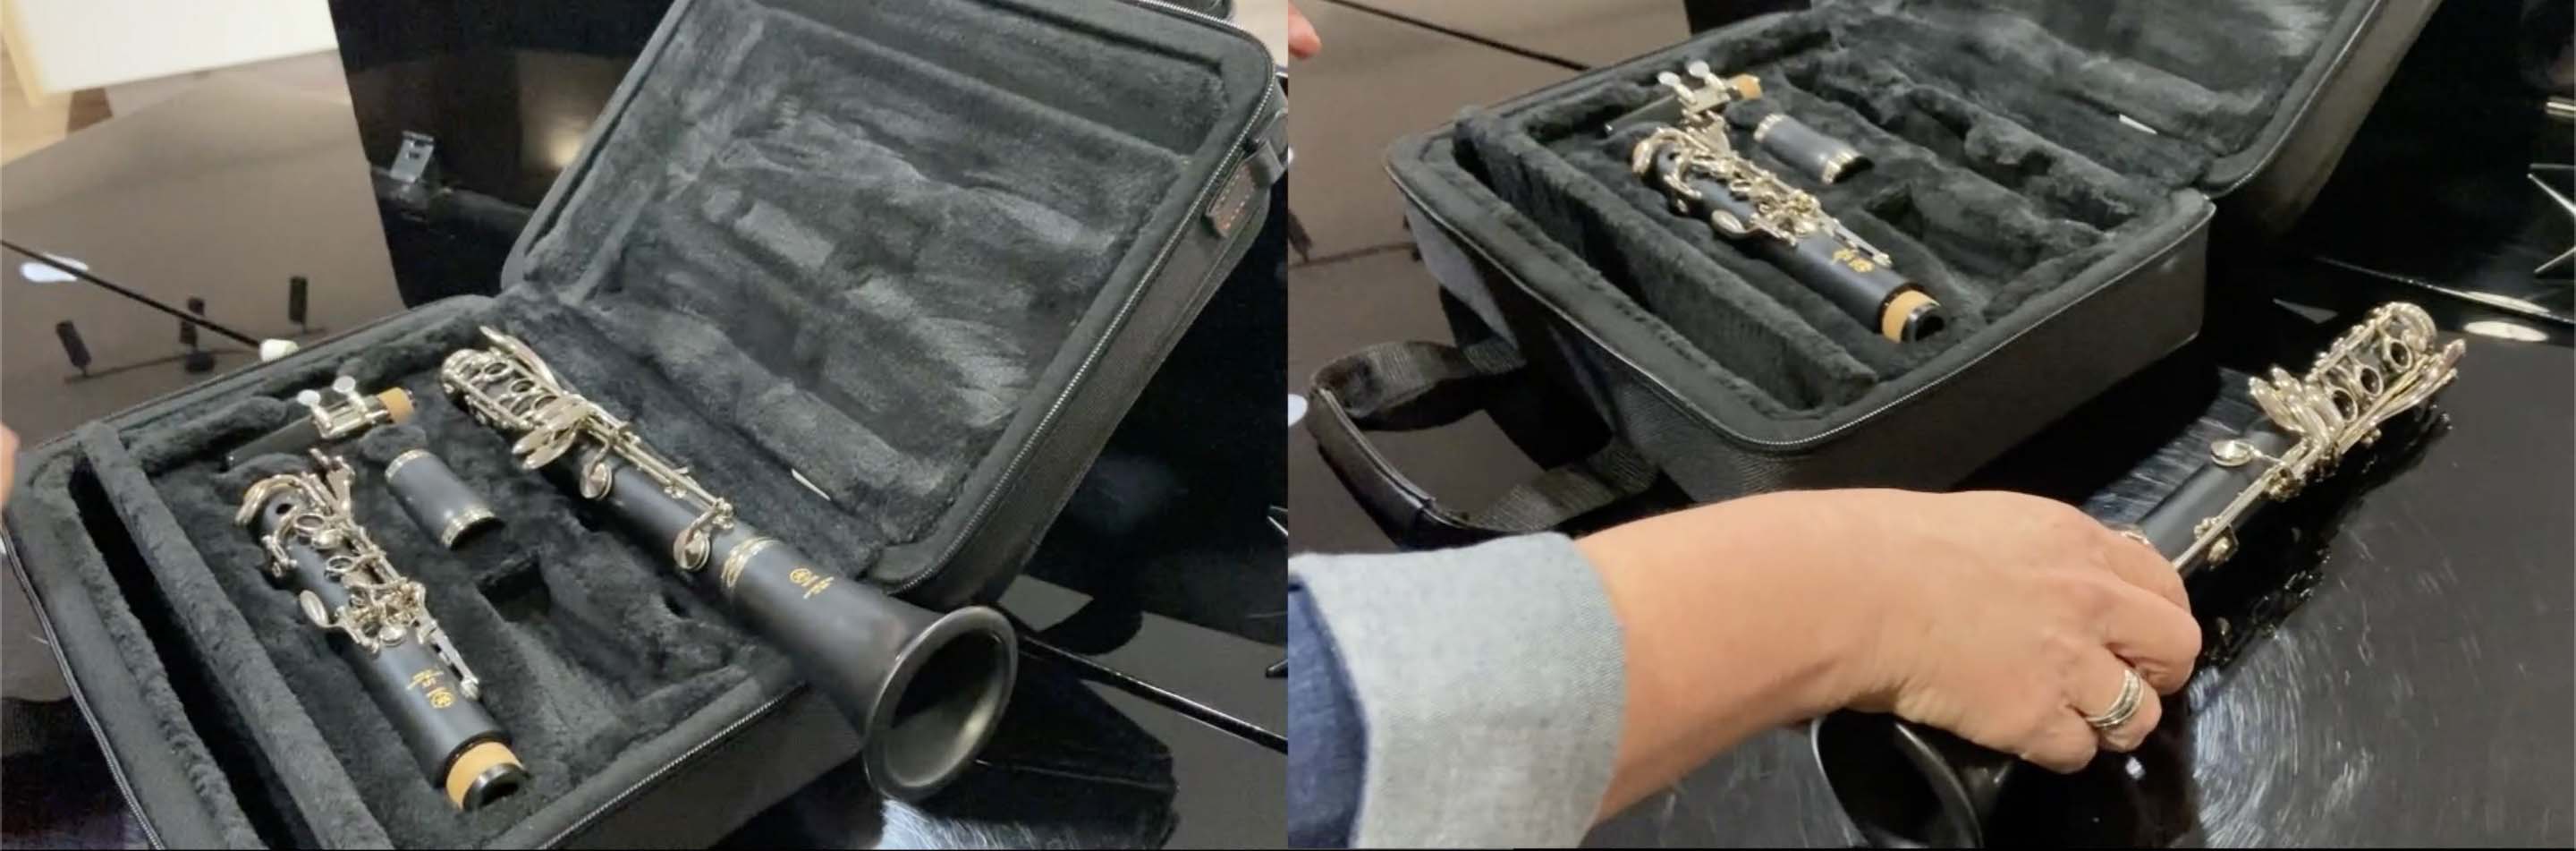
3. Place the bell and bottom joint down on a steady surface as shown.

4. Take the middle joint and apply grease to both ends.

5. Place your right hand on the bottom joint, and your left hand on the top joint as pictured.

Make sure the bridge key (pictured above) is raised.

6. Twist these two parts together with small motions, making sure to align the bridge keys.

7. Take the barrel and twist it into place.

8. Apply cork grease to the mouthpiece tenon and place it into the top of the barrel.

Check the mouthpiece is aligned correctly before putting on your reed. The table of the mouthpiece, which is the flat side, should be in line with the register key on the back of the instrument.

9. Attach your reed to your mouthpiece with your ligature. If you are unsure how to do this, check out our reed care guide for an explanation on this step.
Your clarinet is set up and ready to play!